Email Setup Instructions
At ANLX we use standard settings for our email services. These are as follows:
| Incoming POP3 | Incoming IMAP |
|---|---|
| Incoming Server: pop3.anlx.net | Incoming Server: imap.anlx.net |
| SSL: None | SSL: None |
| Port: 110 | Port: 143 |
| Outgoing Server: |
|---|
| Outgoing Server: smtp.anlx.net |
| SSL: Accept All Certificates |
| Port: 465 |
IOS 7 (Exchange)
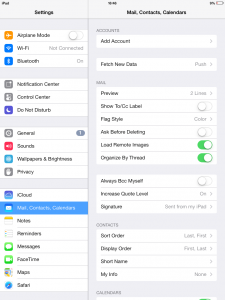
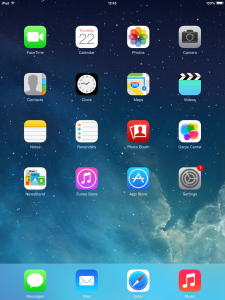
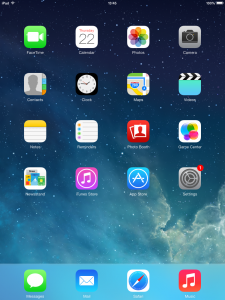
1.From the home screen, tap the settings icon
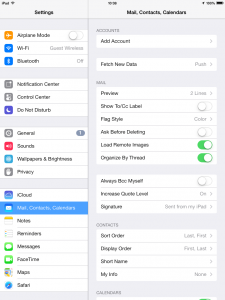
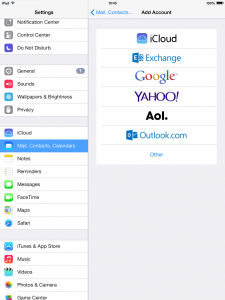
2.Select the “Mail, Contacts, Calendars tab on the left hand side.
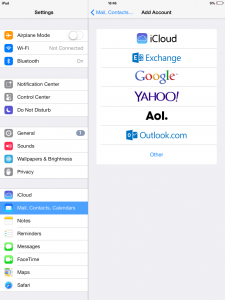
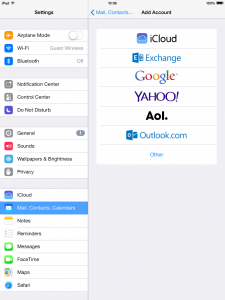
3.Select the exchange button second down in the list.
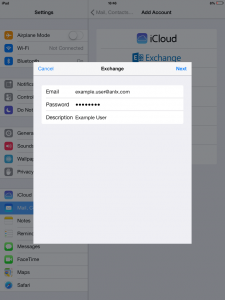
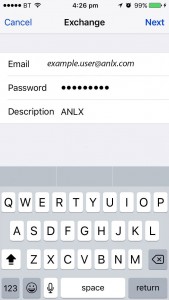
4.Now put in the details to the select fields:
Email Address: your email
Password: your password
Description: something you will recognize as this account
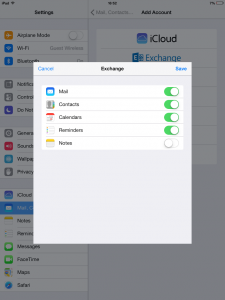
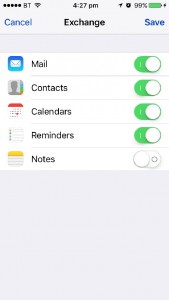
5.Now put all the following settings to the ON position:
Contacts
Calendars
Reminders
6.Finally click “Save” and you’re finished.
IOS 7 (IMAP)
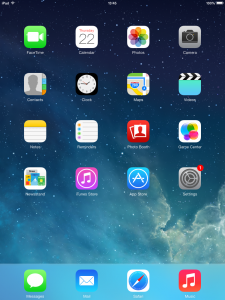
1.From the home screen, tap the settings icon
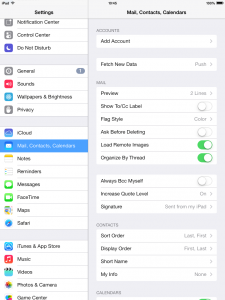
2.Select the “Mail, Contacts, Calendars tab on the left hand side.
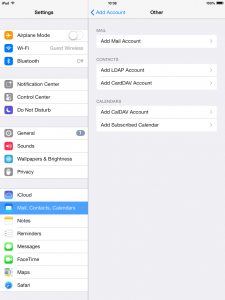
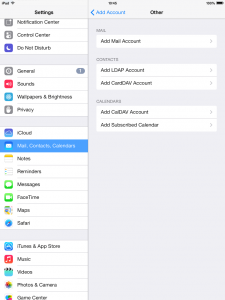
3.Click the “Other”, button on the bottom of the list
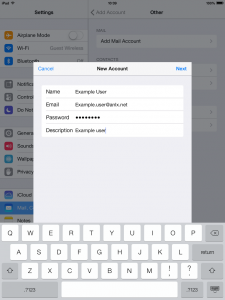
4.Now select the “Add Mail Account” option at he top of the screen
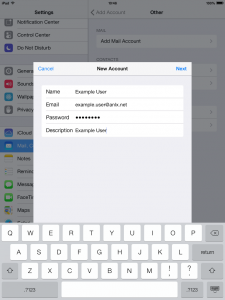
5.Now please enter these details into the fields:
Name
Email: your email
Password: your password
Description: something you will remember to identify this account
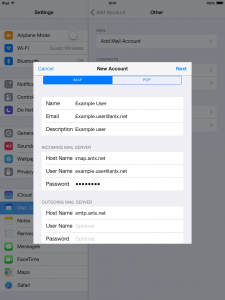
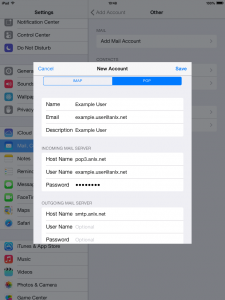
6.Now enter these details:
Host Name: imap.anlx.net
User Name: your email
Host Name (outgoing): smtp.anlx.net
IOS 7 (POP3)
1.From the home screen, tap the settings icon
2.Select the “Mail, Contacts, Calendars tab on the left hand side.
3.Click the “Other”, button on the bottom of the list
4.Now select the “Add Mail Account” option at he top of the screen
5.Now please enter these details into the fields:
Name
Email: your email
Password: your password
Description: something you will remember to identify this account
6. Now enter these details:
Host name: pop3.anlx.net
User name: your email address
Host name (outgoing): smtp.anlx.net
IOS 10 (Exchange)
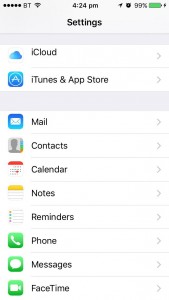
1.From the settings App, tap on “Mail”
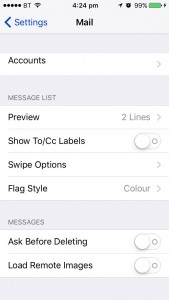
2.In the mail page, select “Accounts”
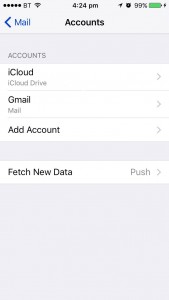
3.Now select “Add Account”
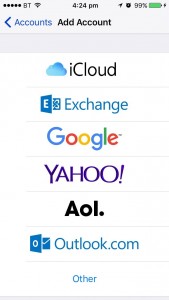
4.Select “Exchange”
5.Now please fill in the following fields:
Email: your email address
Password: your password
Description: something you will recognise as this account
6.Now you can select what to sync from your email account to your device, it is usually:
Contacts
Calendars
Reminders
(not notes)
Then select “Save”

