Email Setup Instructions
At ANLX we use standard settings for our email services. These are as follows:
| Incoming POP3 | Incoming IMAP |
|---|---|
| Incoming Server: pop3.anlx.net | Incoming Server: imap.anlx.net |
| SSL: None | SSL: None |
| Port: 110 | Port: 143 |
| Outgoing Server: |
|---|
| Outgoing Server: smtp.anlx.net |
| SSL: Accept All Certificates |
| Port: 465 |
Mac Mail (Exchange)
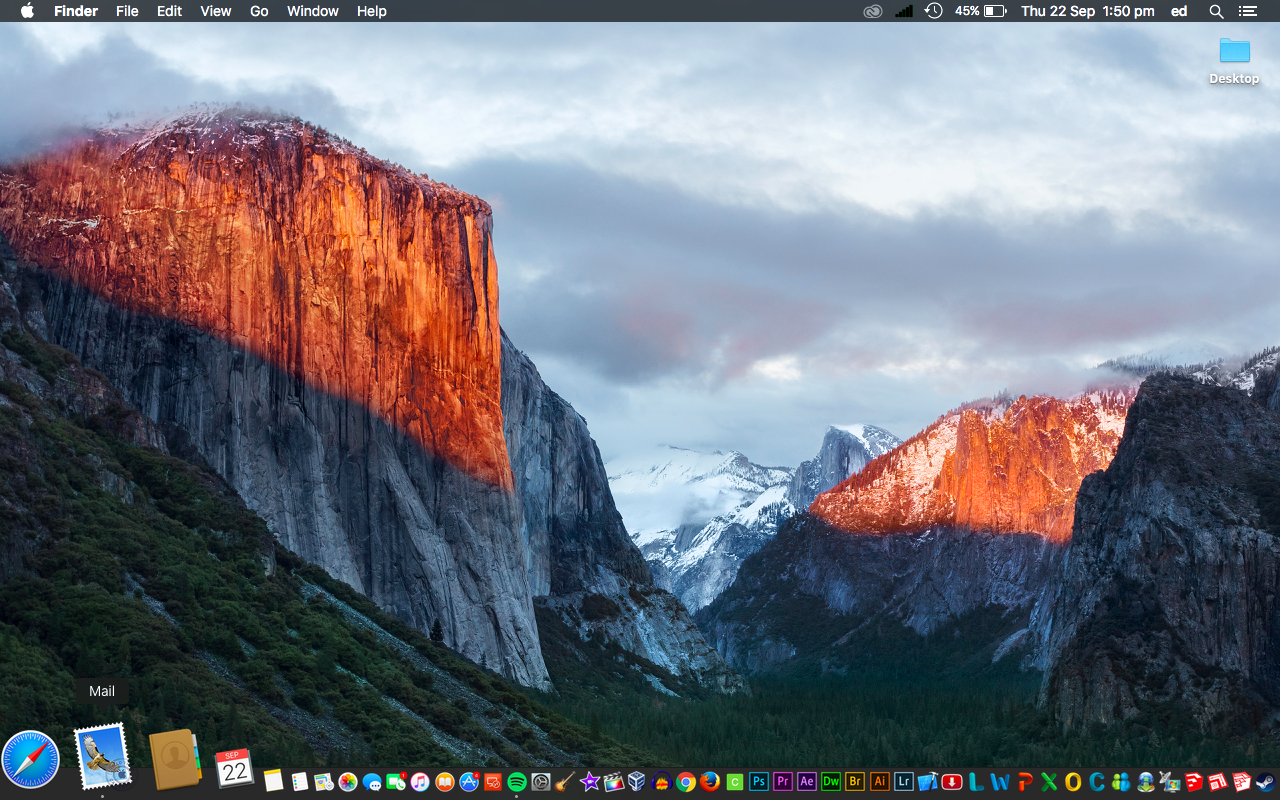
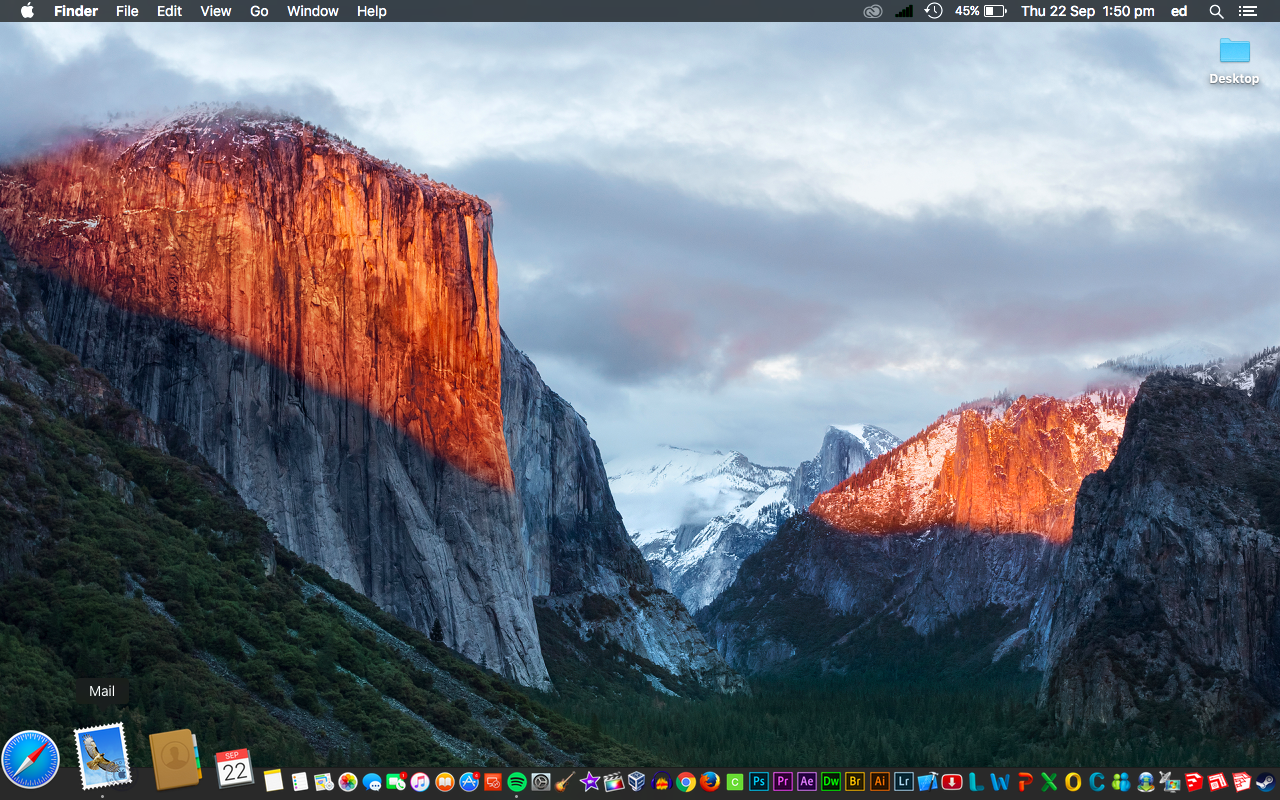
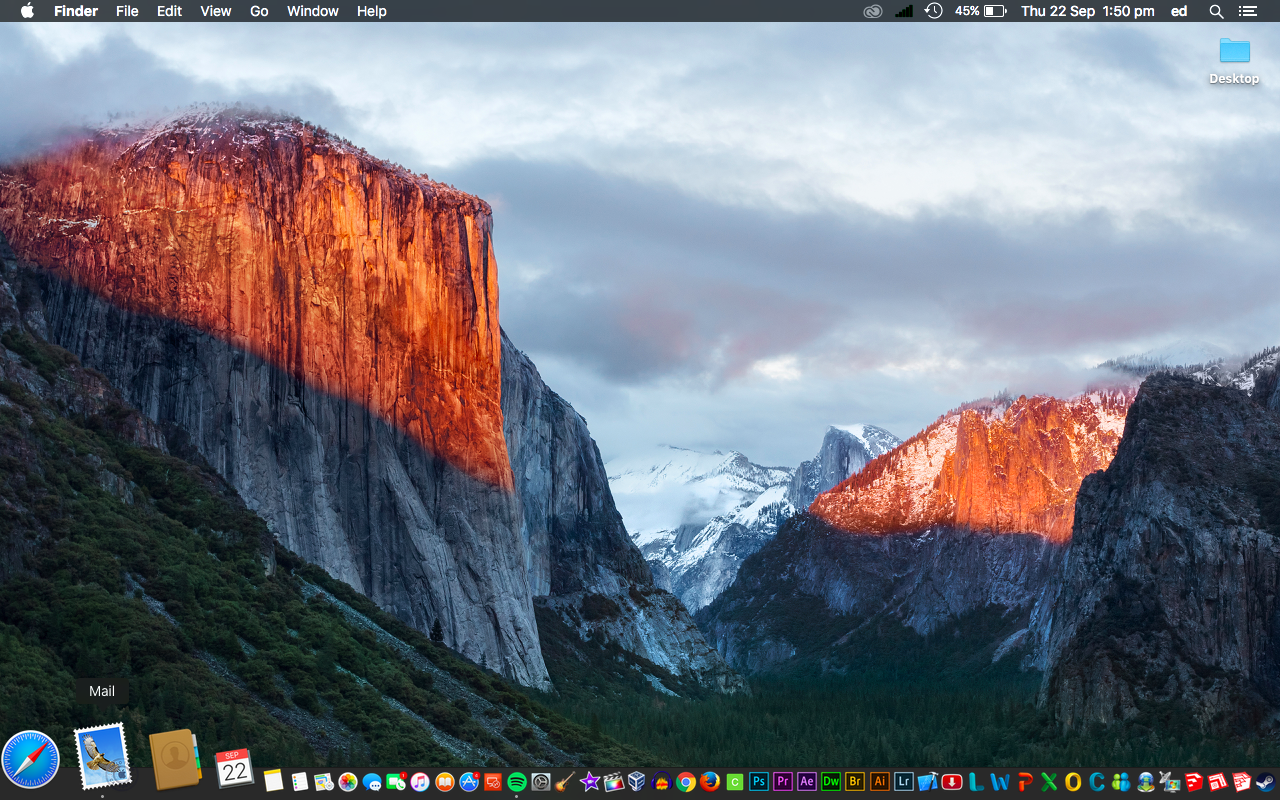
From the desktop open “Mail” from the left hand side of the dock
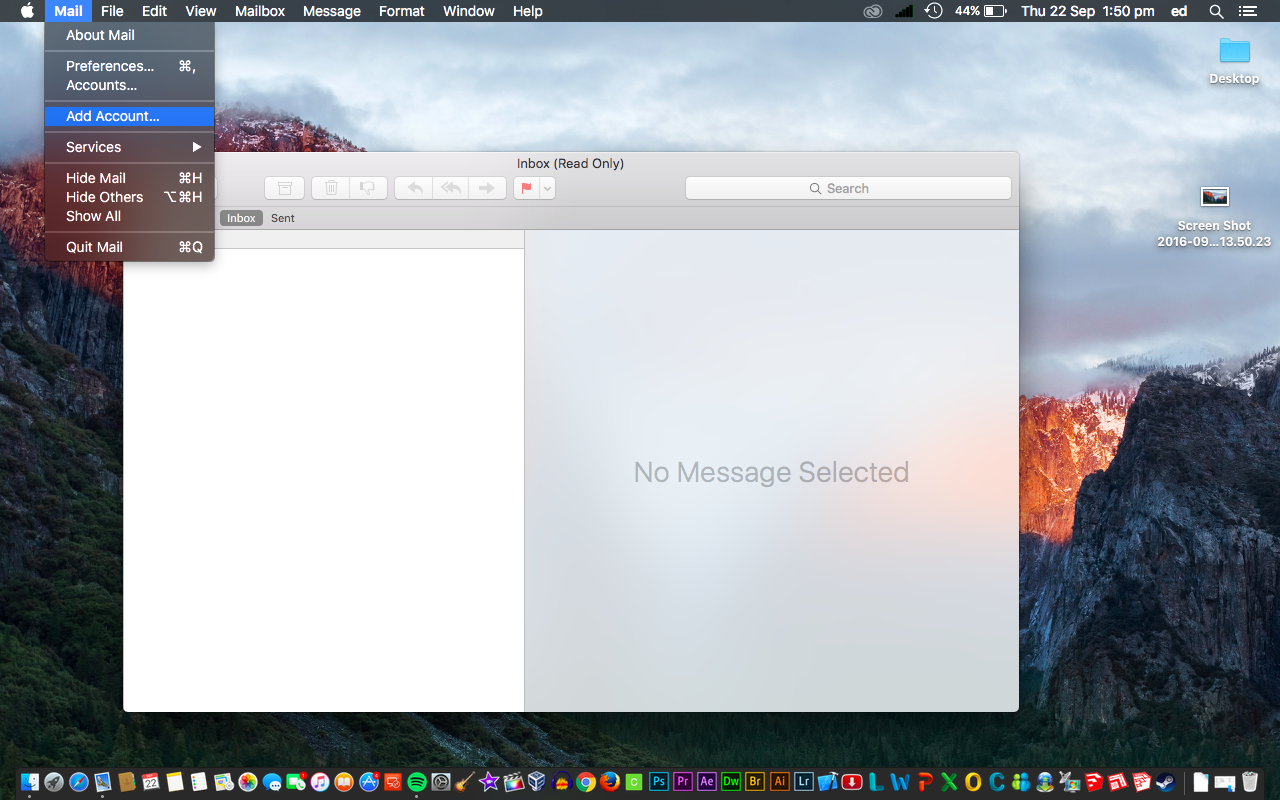
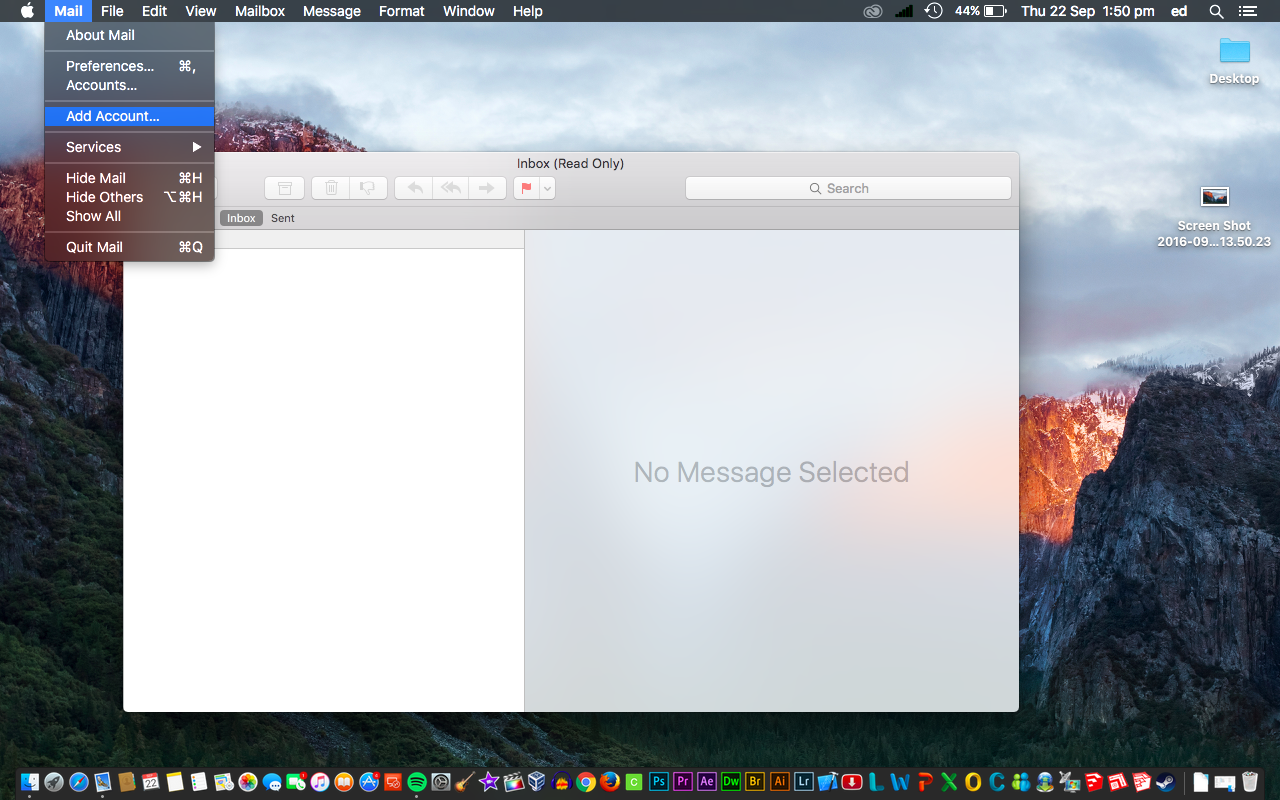
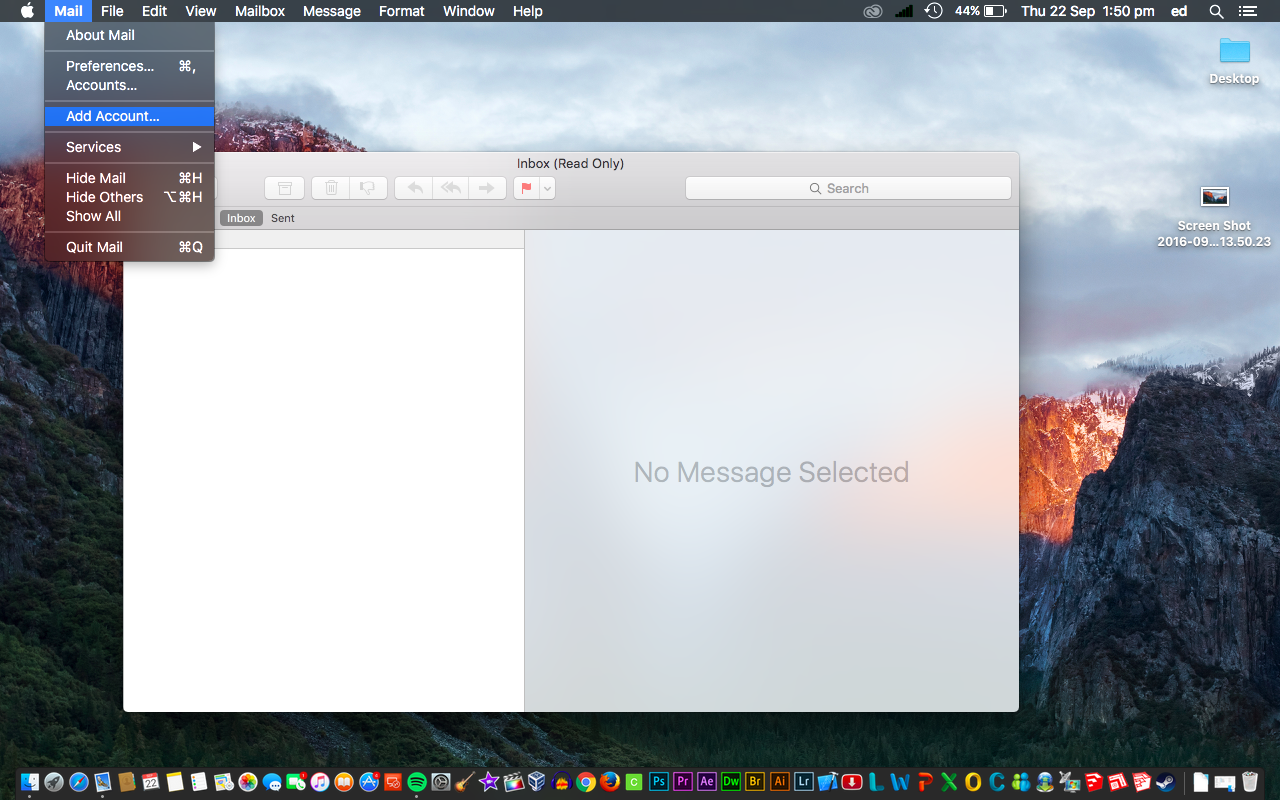
Go to “Mail”, and click “Add Account”
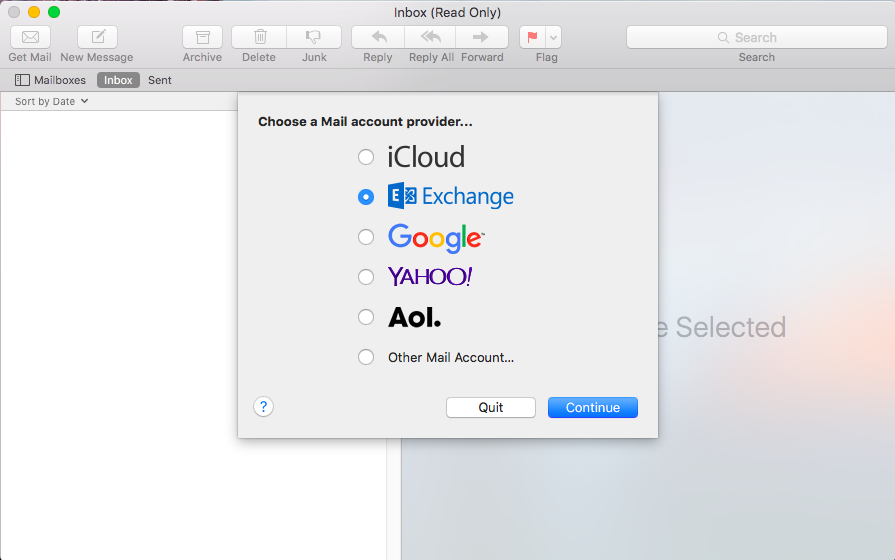
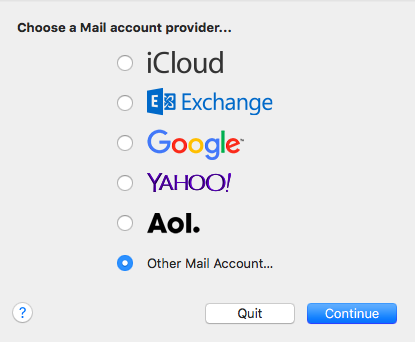
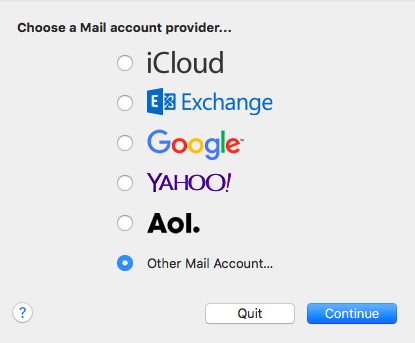
Select “Exchange” and press “Continue”
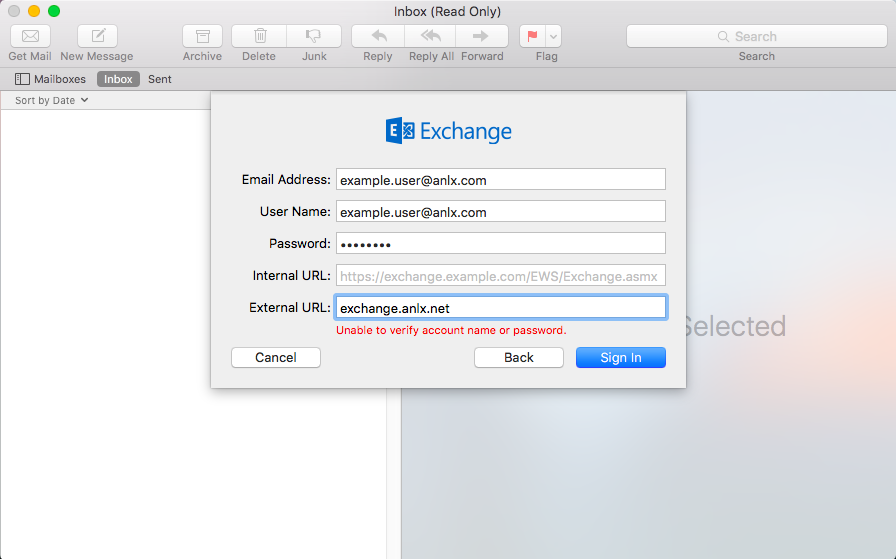
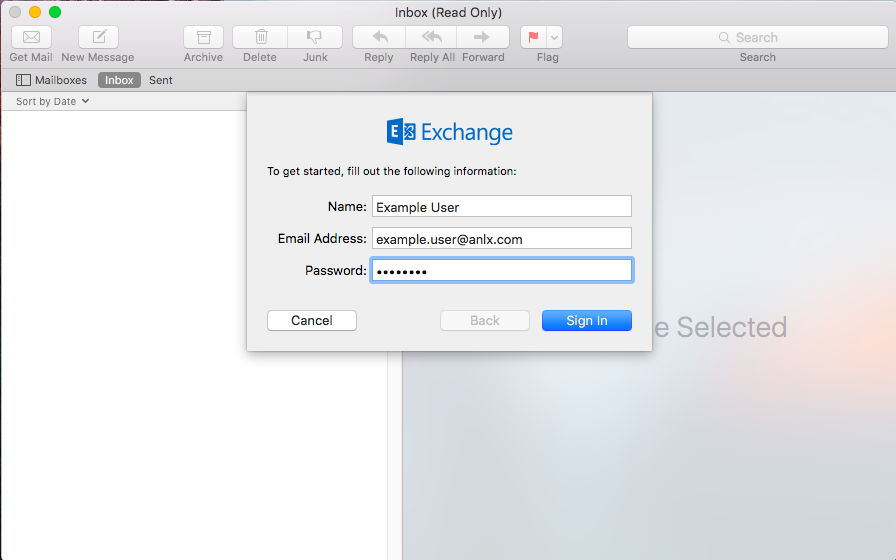
Now enter these details in the fields:
Name: Your Name
Email Address: your email address
Password: your password
Now enter these details in the fields:
Email Address: your email
User Name: your email again
Password: your password
External URL: exchange.anlx.net
Then click “Sign in”
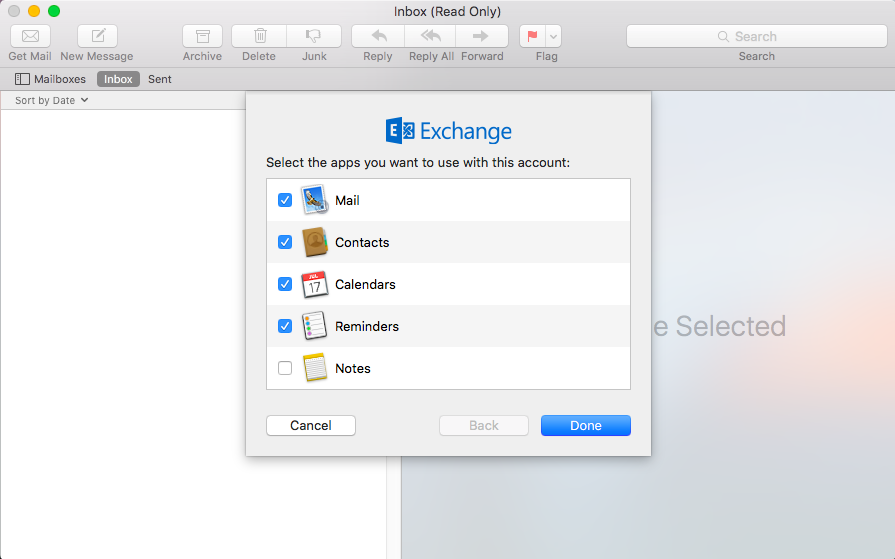
Now select all the option other than “Notes” then click “Done”
Mac Mail (IMAP)
From the desktop open “Mail” from the left hand side of the dock
Go to “Mail”, and click “Add Account”
Select “Other Mail Account”
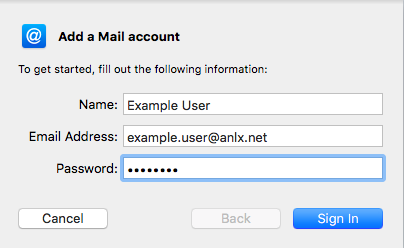
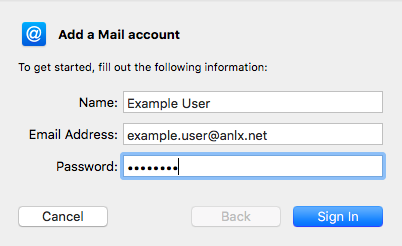
Now fill in the information into the fields:
Name: Your name
Email Address: your email address
Password: your email password
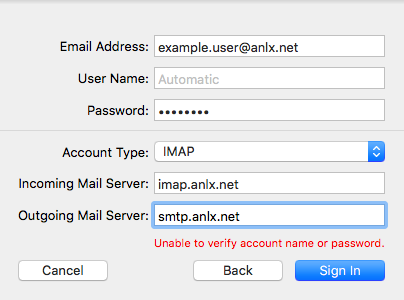
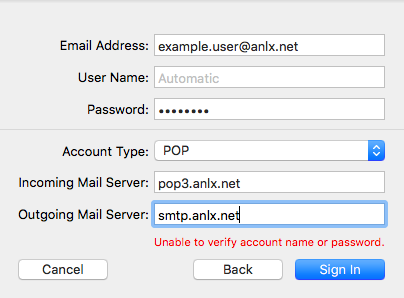
Now these fields:
Email Address
Password
Account Type: IMAP
Incoming mail server: imap.anlx.net
Outgoing mail sever: smtp.anlx.net
Then “Sign in”
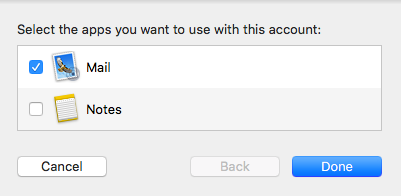
Then select “Mail” and click “Done”
Mac Mail (POP3)
1.From the desktop open “Mail” from the left hand side of the dock
2.Go to “Mail”, and click “Add Account”
3.Select “Other Mail Account”
4.Now fill in the information into the fields:
Name: Your name
Email Address: your email address
Password: your email password
5.Now these fields:
Email Address
Password
Account Type: POP
Incoming mail server: pop3.anlx.net
Outgoing mail sever: smtp.anlx.net
Then “Sign in”
6.Then select “Mail” and click “Done”
Outlook 2011 Mac
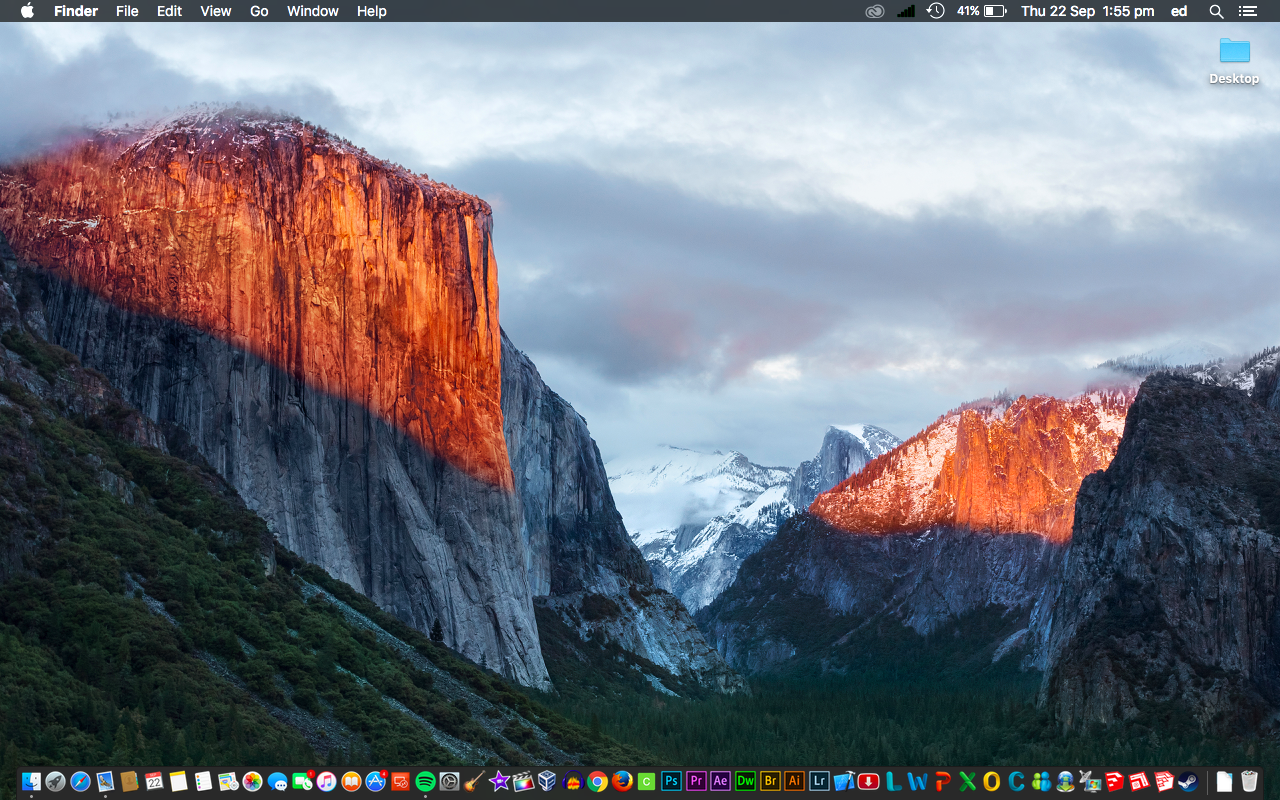
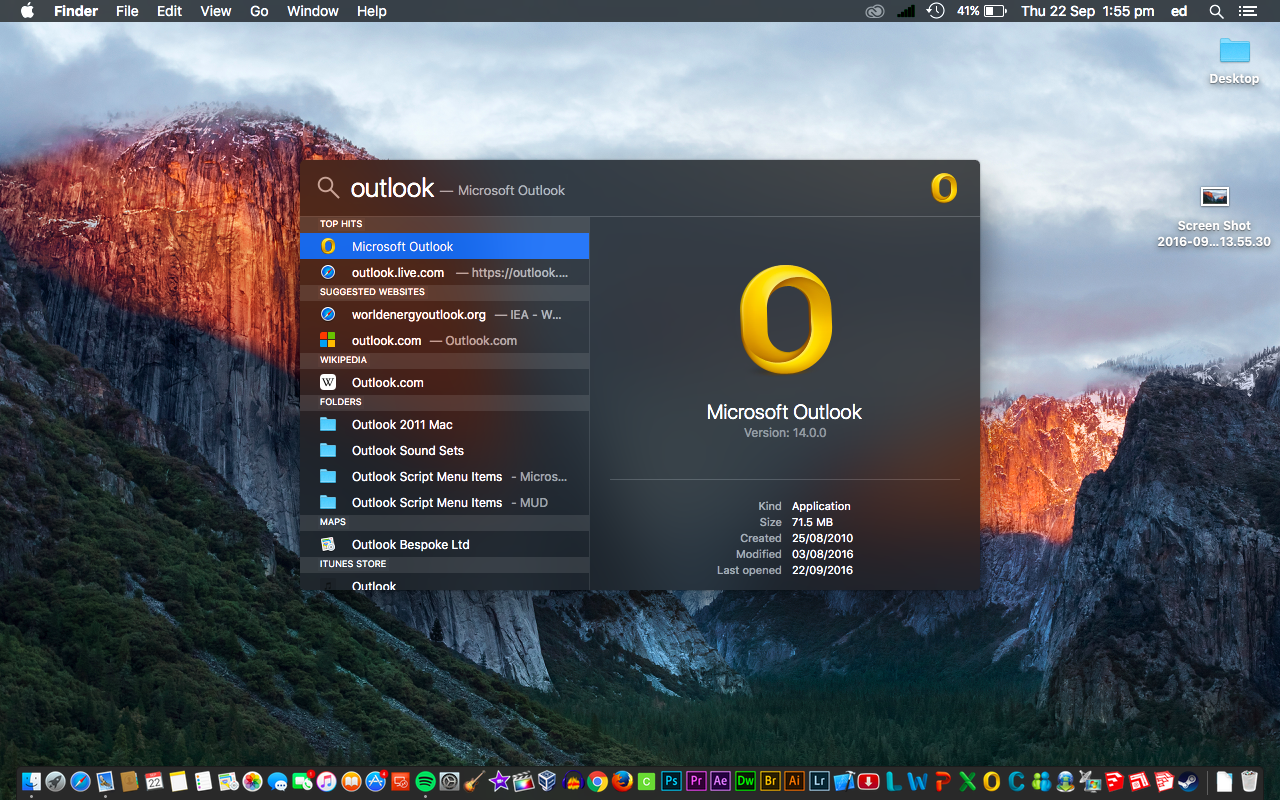
1.From the desktop click the small magnifying glass in the top right of the screen
2.When this box appears type “Outlook”
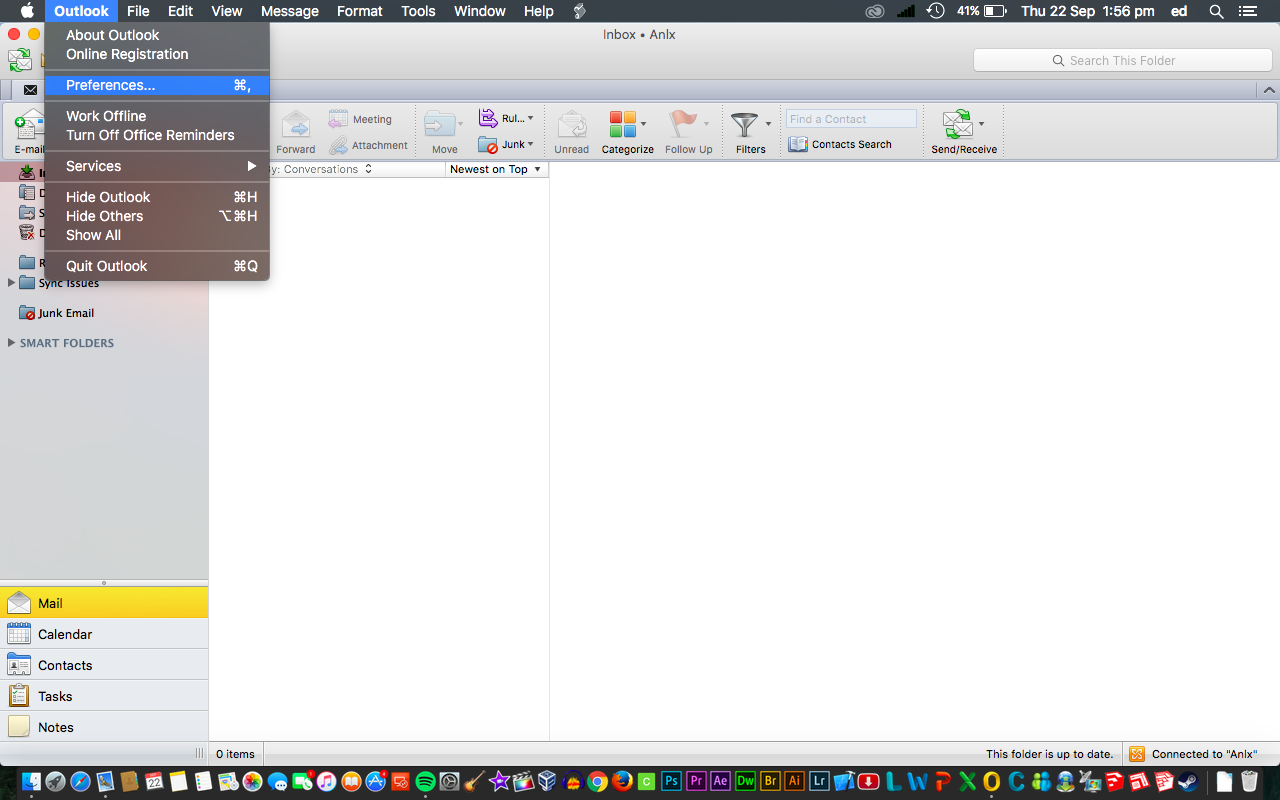
3.Now click the “Outlook” tab on the left and then go to “Preferences”
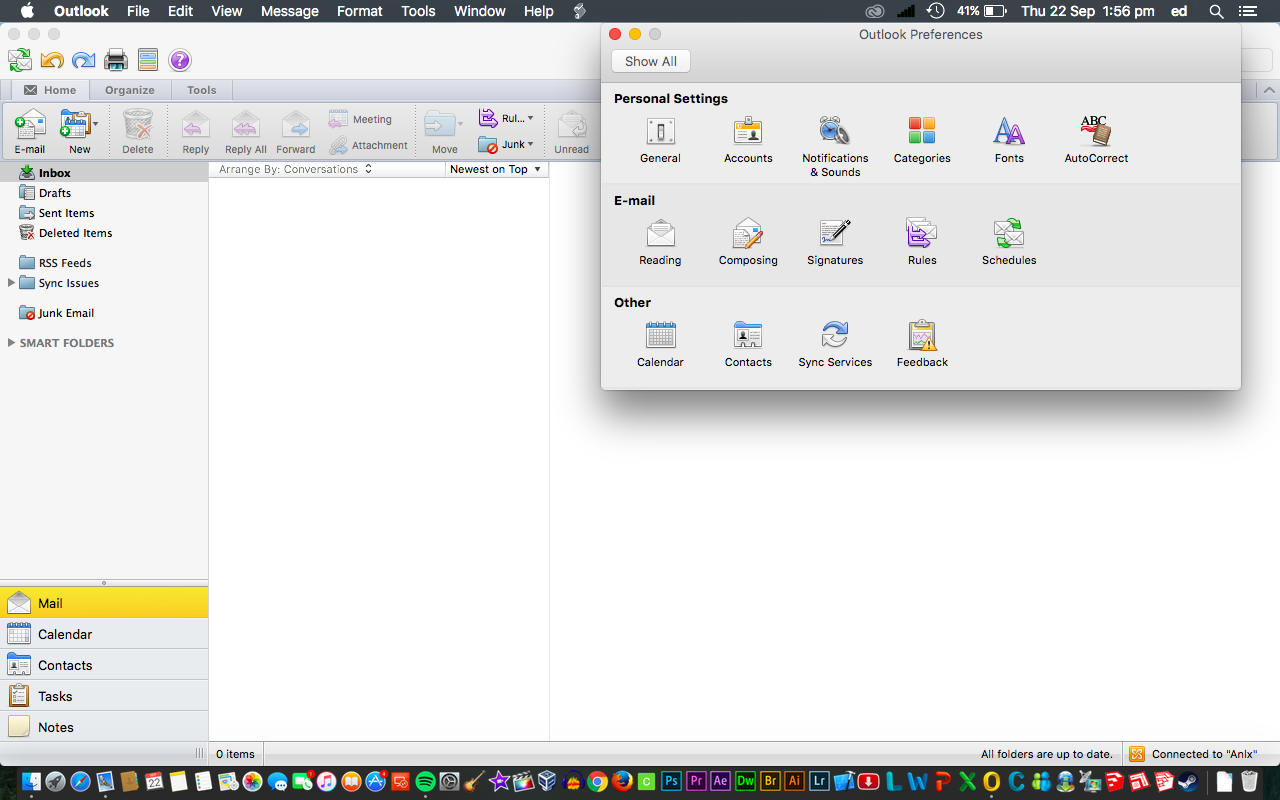
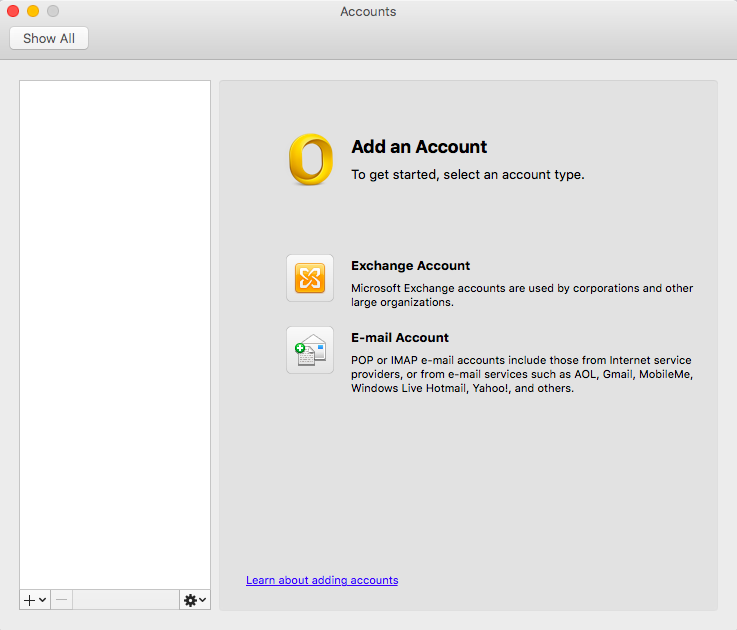
4.In preferences, click “Accounts”
5.Click “Exchange account”
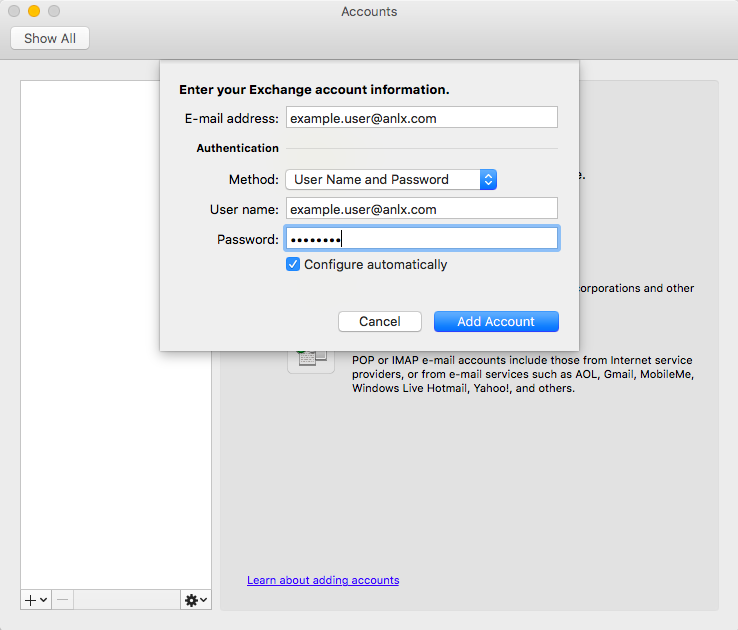
6.Now insert this information into the fields:
E-mail address: your email
Method: User Name and Password
User Name: your email
Password: your password
Then click “Add Account”
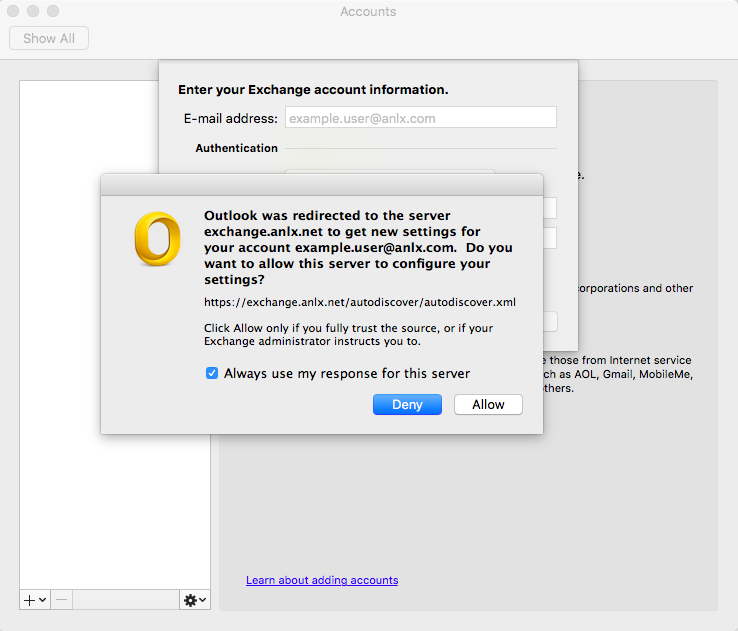
7.Click allow and you are done.

